EFTPOS Air Portal
The EFTPOS Air Portal provides access to insights, reporting and other functions to manage your business. You can access the portal at portal.eftposair.westpac.com.au.
Most of the functionality described throughout this site is available via the EFTPOS Air portal on a desktop or mobile browser.
Sign in to the portal with the same credentials you use for the EFTPOS Air app.
Navigating through the portal is similar to navigating through the EFTPOS Air app, with a user interface that takes advantage of a larger screen. The portal also includes a few additional features. Any changes made on the portal will be reflected on the EFTPOS Air app in real time and vice versa.
Invoices (Orders)
Orders
This function is labelled as Orders under the Hospitality Business Mode.
This section will show you all invoices over a set period. You can filter these invoices by stage - Overdue, Unpaid, Accepted, Quoted, and Draft. You can also use the search bar to narrow it down further. You can download the results as a CSV or PDF file.
Paid (Receipts)
This section will display all completed sales over a set period. You are able to filter these based on their status - Paid, Refund, or Void. You can use the search bar to narrow it down further. You can download the results as a CSV file.
Creating & Editing Invoices
You can create new invoices from the Invoices section by selecting "Create Invoice". Existing invoices and completed sales can be edited from the Invoices and Paid sections, respectively.
When you have selected an invoice or sale, you can click on the () button to access additional options. From here, you can:
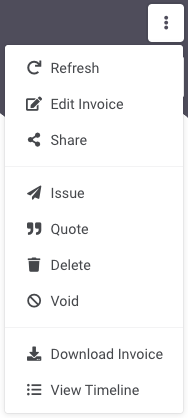
- Refresh the invoice (in case changes have been made elsewhere)
- Edit the invoice
- Share the invoice
- Issue, Quote, Delete and Void the invoice
- Duplicate the invoice
- Download a copy of the invoice
- View the invoice timeline
Depending on the state of the invoice, different options will be available and different parts of the invoice may be editable.
Take payments using the EFTPOS Air mobile app
While invoices can be created & edited from the portal, payments must be initiated and recorded via the EFTPOS Air mobile app.
Invoice Tags
With a similar functionality to the EFTPOS Air app, you can configure invoice tags on the EFTPOS Air portal.
Creating/Editing Tags
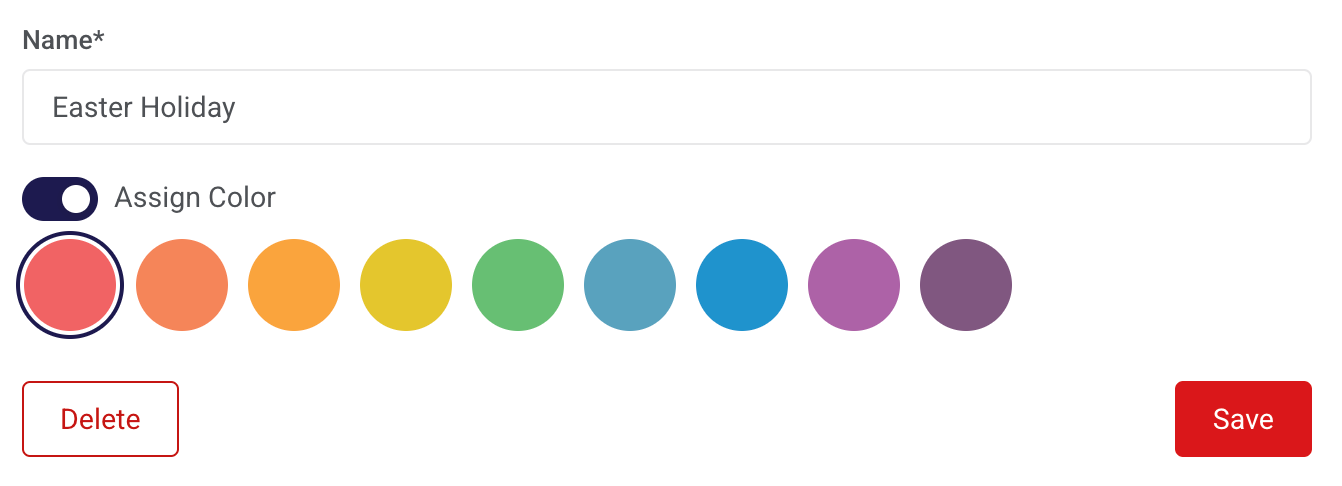
By accessing the tags menu, you can create and edit tags to be used for invoice categorisation.
Simply enter a tag name, select a colour and click Save to confirm your changes.
Assigning Tags
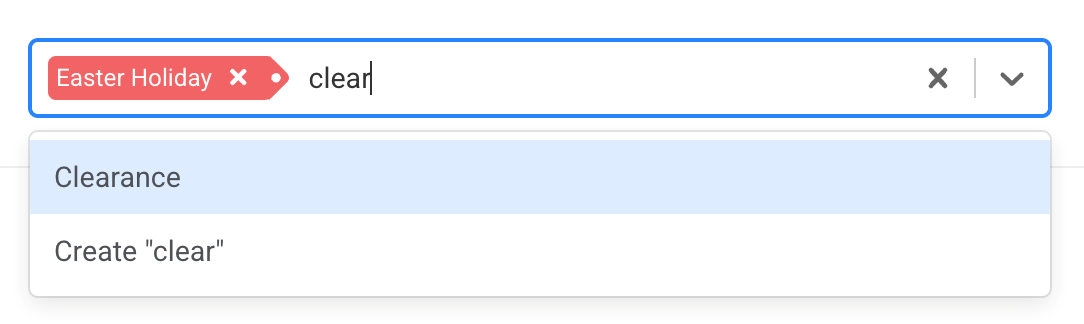
Under each individual invoice, there is a new field with a dropdown containing the names of different tags that have been created.
If your desired tag doesn't appear, you can directly create tags by entering the name and click on the Create option.

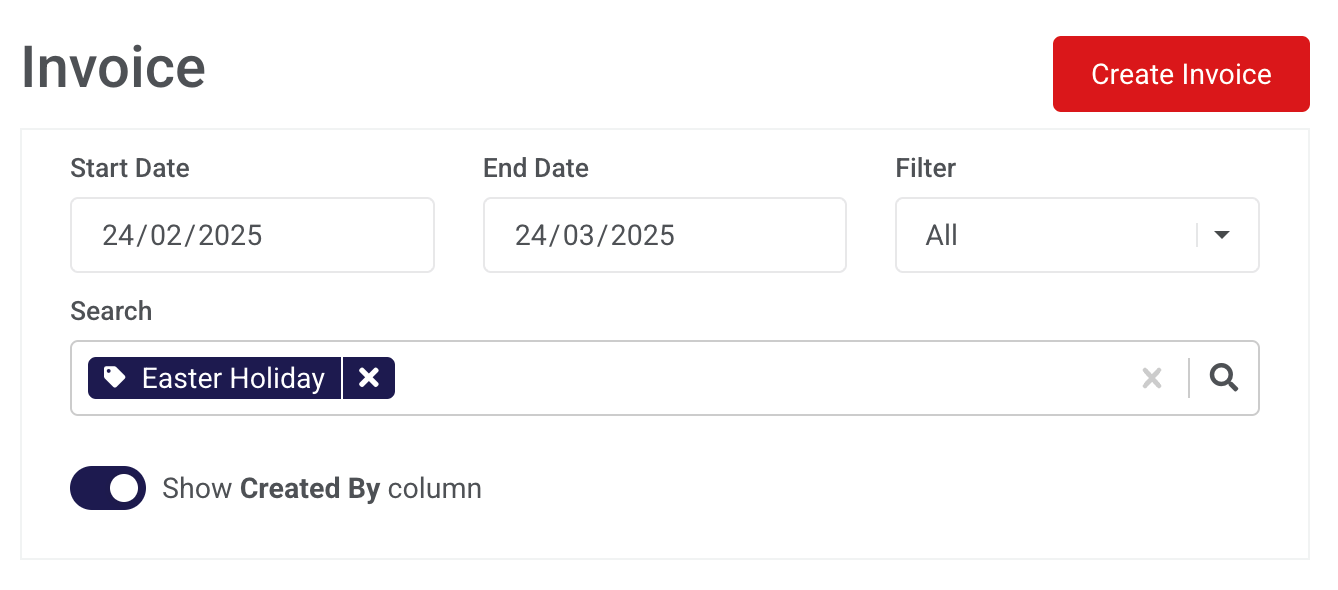
Invoice Searching using Tags
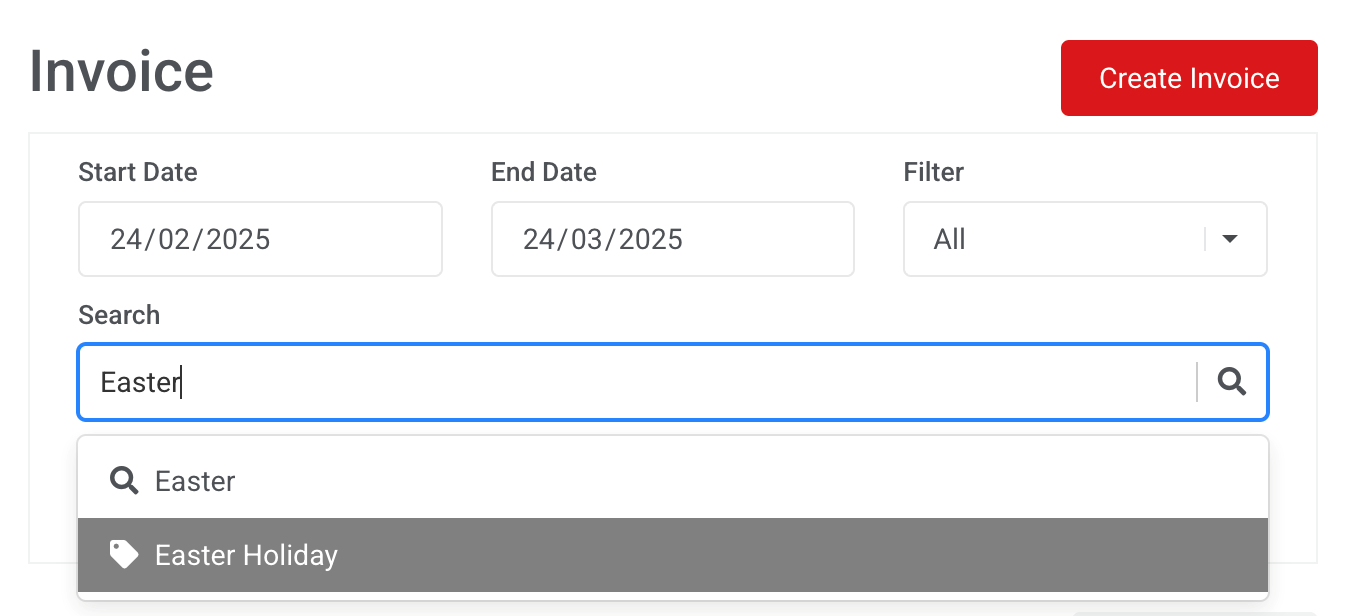
Under the invoice search field, you can search for invoices that have been linked with a specific tag.
Go to the Search field and enter the name of the tag; it will appear in the dropdown menu with a tag icon.
Reports
Under reports, you can access a Summary, top Item Sales, and a list of Payments.
Summary gives you a brief overview of your payment activity over a set time period. This includes number of sales, gross sales, net sales, refunds, and a breakdown of the types of payments received.
Item Sales shows a breakdown of top-selling items over the selected period.
Payments shows details on every transaction over a set period, including the option to view the receipt or related sale or invoice for that payment.
The Summary and Payments reports can be optionally filtered and ordered by settlement date.
Settlement Date
Transactions processed on a settlement date will be settled into your account directly after the settlement date cut-off.
Settlement date cut-off for EFTPOS Air takes place 7 days a week at 8.50 pm (Sydney time).
Item Sales Report Filtering
You can toggle different settings that provide different views of your item sales. Enabling these settings will alter the fields in the downloadable .csv report.
Show Item Sales by Users
This setting adds a User column and provides a breakdown of sales generated by each user for each product.

Include Items from Unpaid and Overdue Invoices
This setting incorporates items from invoices that haven't been paid into the report.
Subtract Items from Refunded Invoices
This setting removes any refunded items and their value from the report.

Multi-Business Reporting
If your account has access to multiple businesses, you can swap between them by clicking on your email address on the top right and selecting Switch business.
From here, you can also select All Businesses, which allows you to view reports across all of your businesses. You won't be able to make any changes while in multi-business mode.
More Powerful Reporting
The portal allows you to export sales, invoice, or payment data as a CSV file. Just navigate to Paid or Payments, select your date range and then click Download.
Inventory
The Inventory section is where you can manage your Items:
Stock Management
Similar to the EFTPOS Air app, you can manage stock levels through the Items menu. Simply click on an item name and then scroll down to the Stock menu and click on the corresponding field.
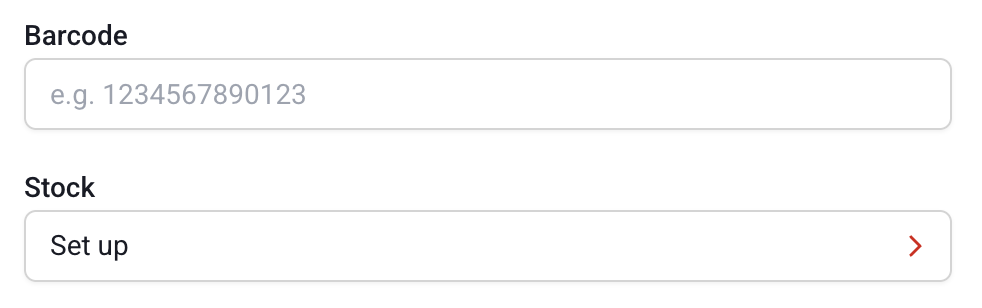
Set up
If stock management has been completed, this field is populated with the current stock level. If stock set up has never been completed, the field displays "Setup" and will prompt to complete stock level setup.
Stock Interface
When clicking on the Stock field, a stock management window appears, outlining the quantity of items sold and currently in stock.
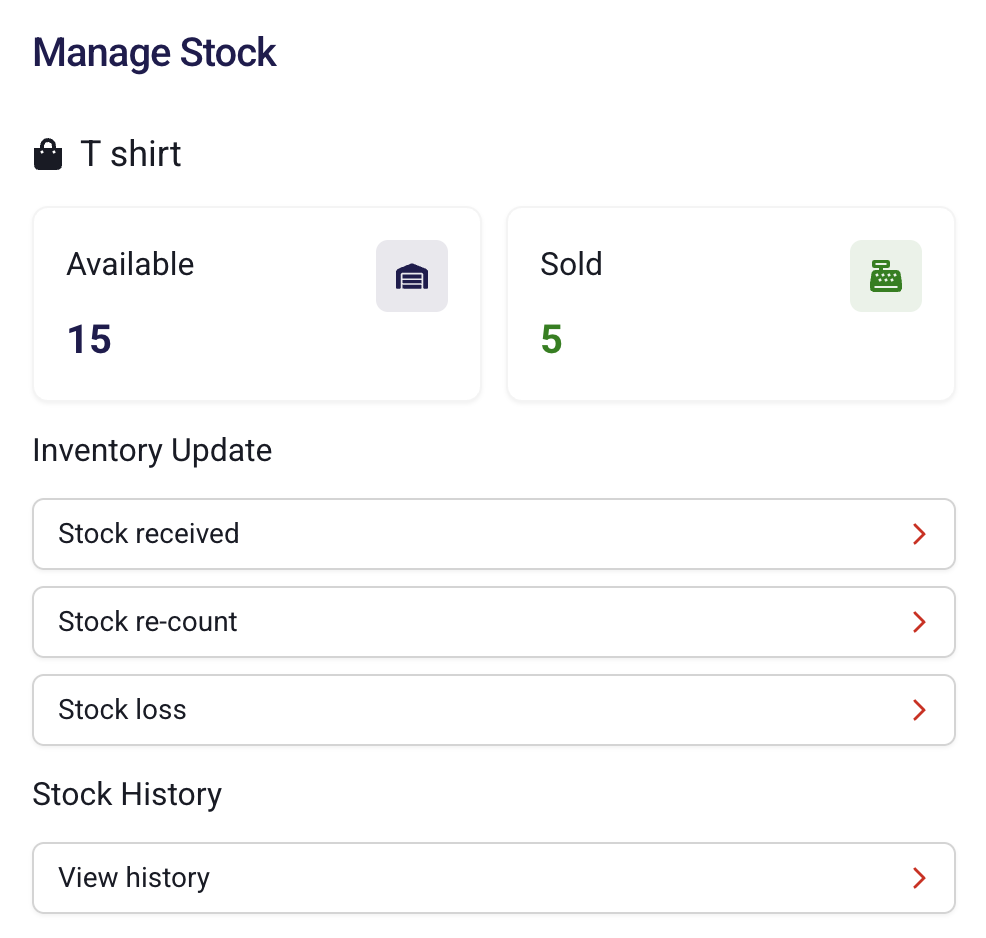
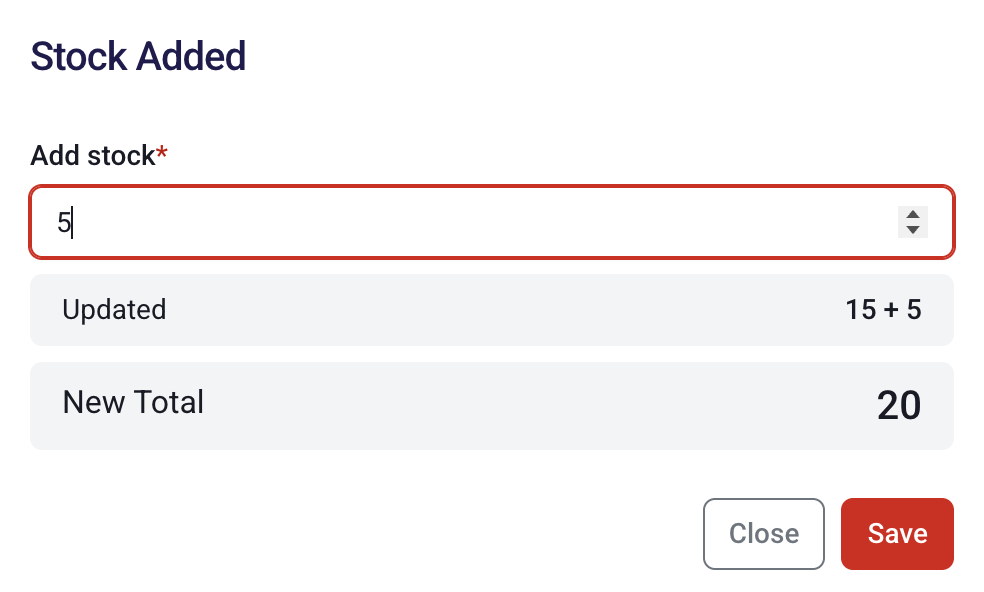
Stock Received
If additional stock has been received, the stock level increase can be documented by clicking on Stock Received and then specifying the stock quantity increase.
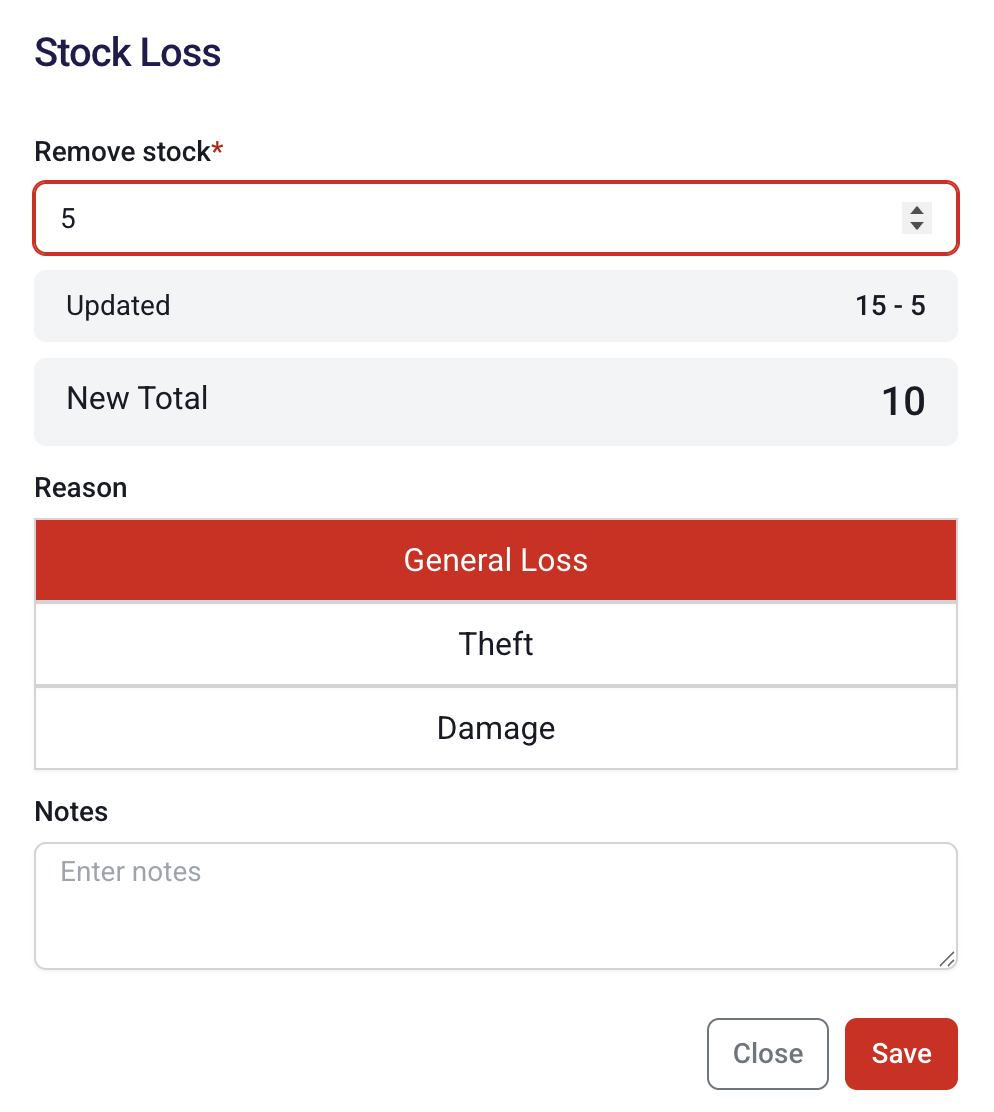
Stock Loss
If the usable stock level has decreased, this can be documented through the Stock Loss menu by specifying the loss level, the reason for the stock loss and any additional notes.
Selling Items
If items are sold, while they are a reduction in stock, they are classified as sold stock. Therefore, it is important that this menu is only used when stock levels have been reduced outside of sales.
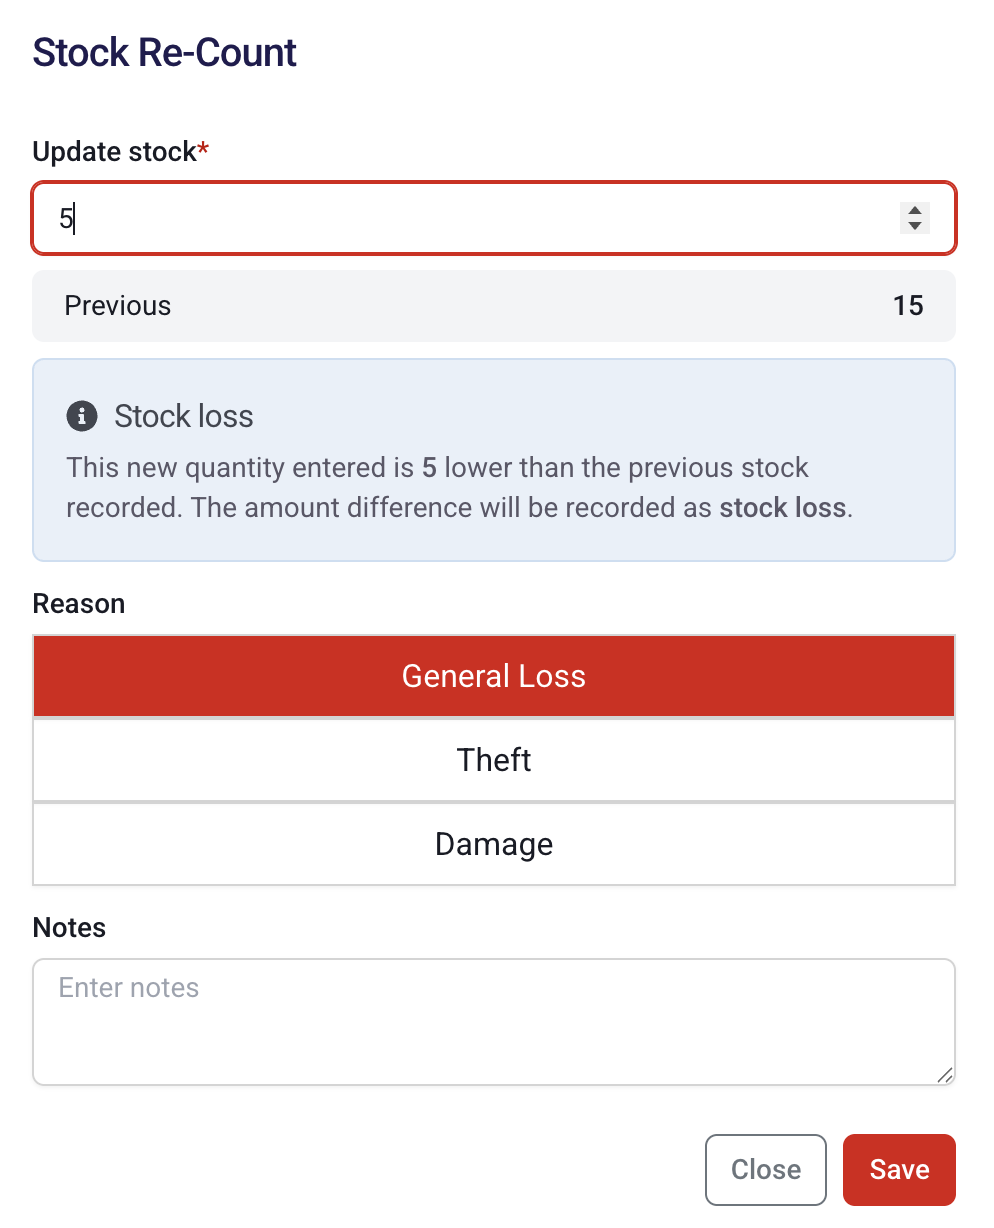
Stock Re-count
In the instance that there have been adjustments to the stock level and would like the EFTPOS Air Portal to calculate the difference, the Stock Re-count feature can be used. Enter the new stock level and the difference will determine whether stock has been received or lost.
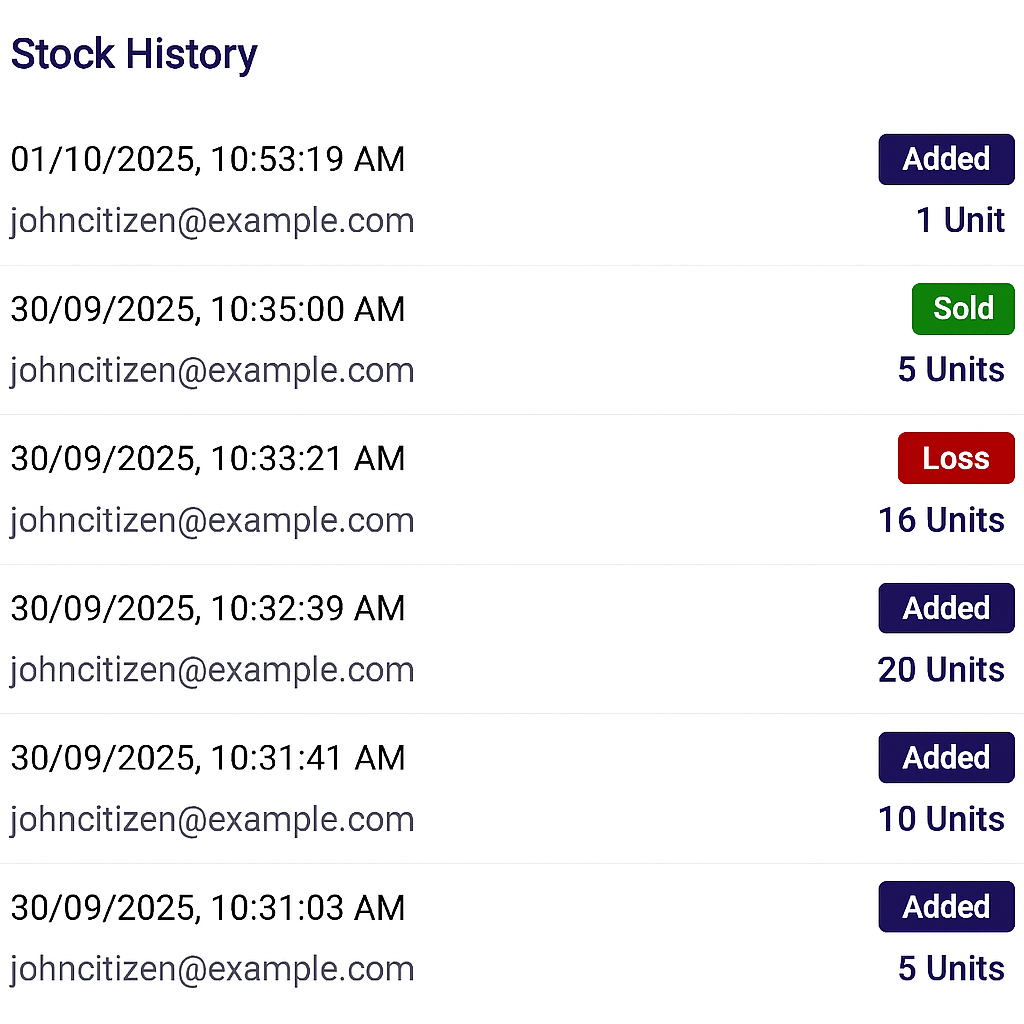
View Stock History
Changes to the stock levels of an item are tracked on the EFTPOS Air Portal and are seen when viewing the stock history of an item. In this pop-up, the following details are present:
- The date & time of the stock level alteration
- The email of the user who altered the stock level
- The change of the stock level (sold, added or lost)
- The quantity of units affected by the change
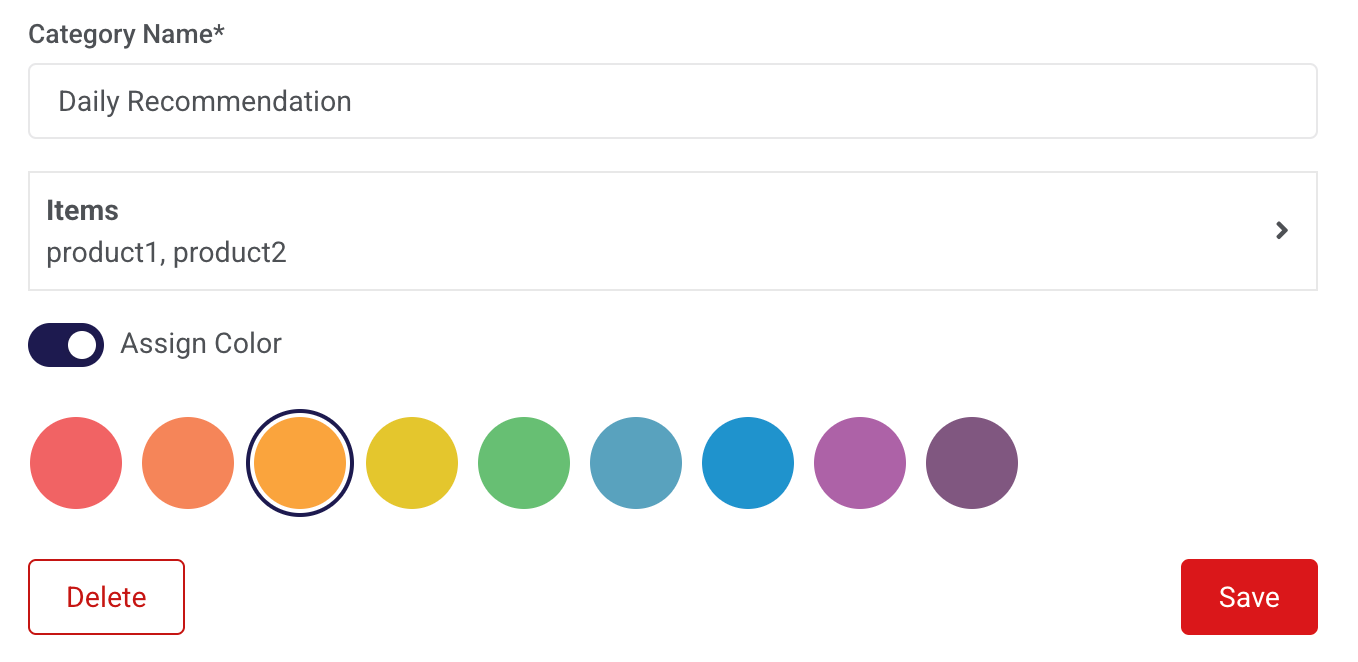
Category Settings
You can create, edit & delete categories on the EFTPOS Air portal under the Inventory & Customers menu.
The following category features can be edited:
- Category Name
- Category Products
- Category Colour
Business Settings
Here, you will be able to edit your business details, change your business mode, manage any additional users that have access to your business, and modify your business features and role permissions.
Additional user roles can be created on the Roles & Features page. Here, you can also adjust the permissions for existing roles as well as global business features.
Roles & Features
There are two basic roles you can set for a user: Manager or Operator. The Manager role is for your trusted staff and has a broad set of permissions, whereas the Operator role is much more restrictive.
Custom roles can be created via the Roles & Features menu by clicking on Add Role, as shown in the image below.
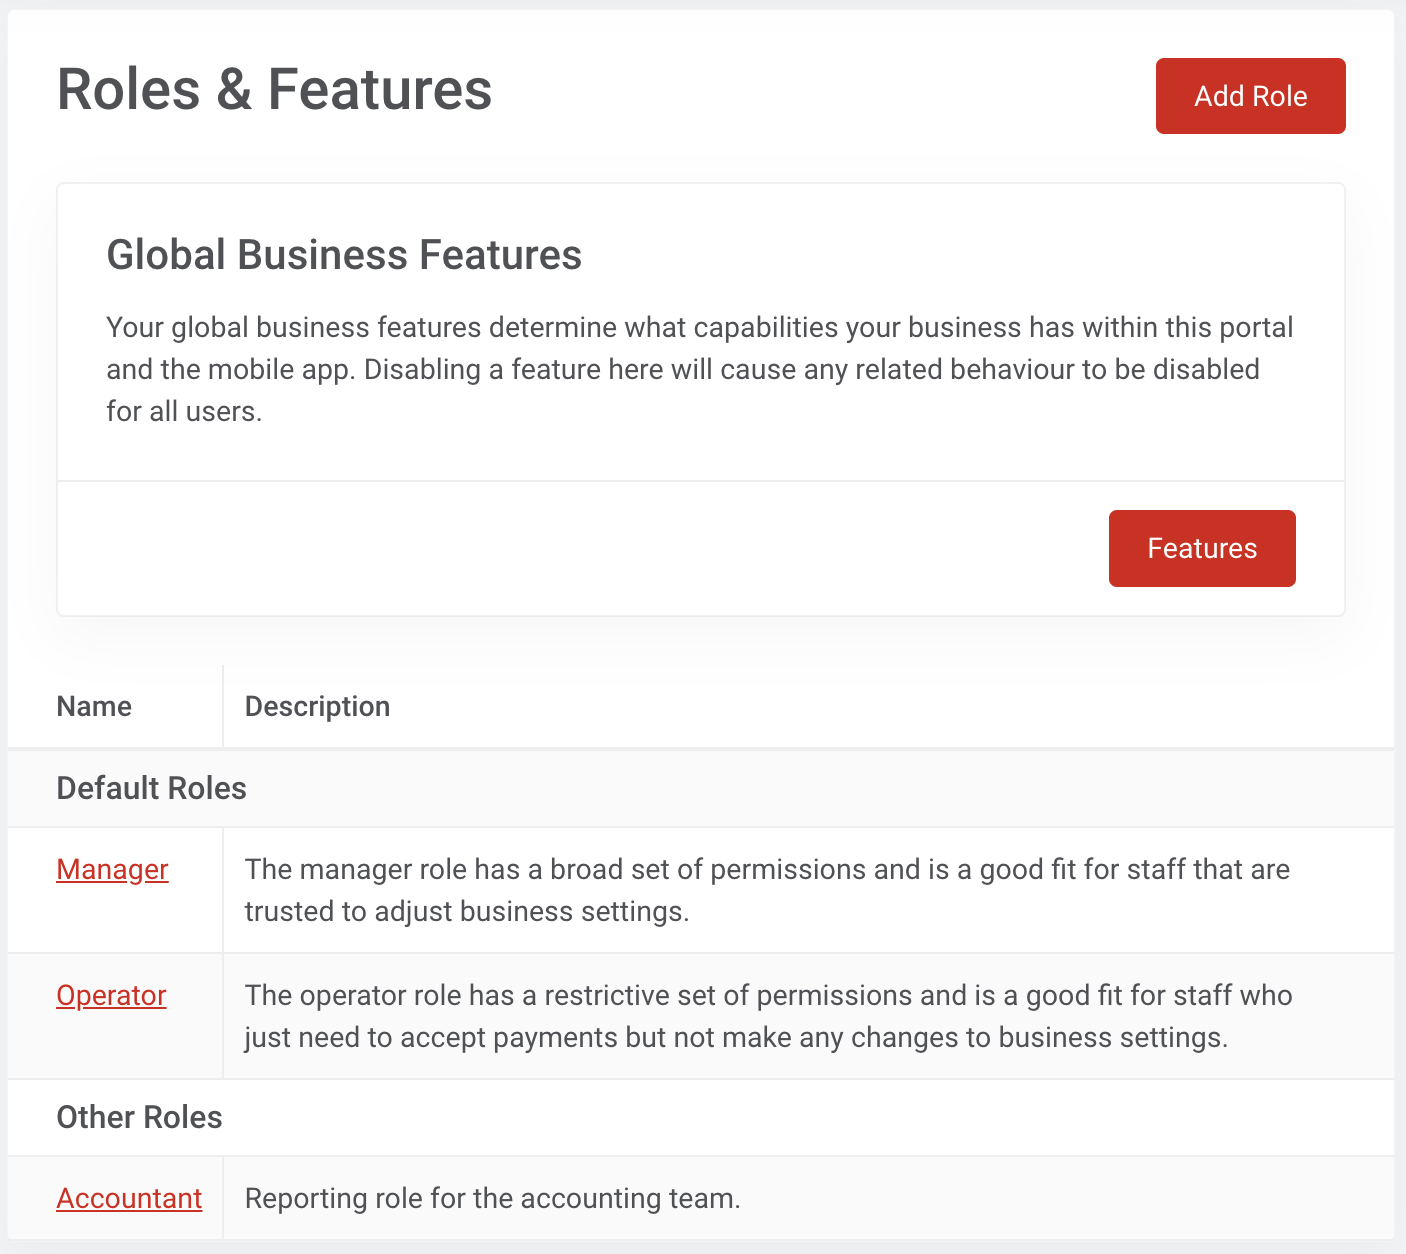
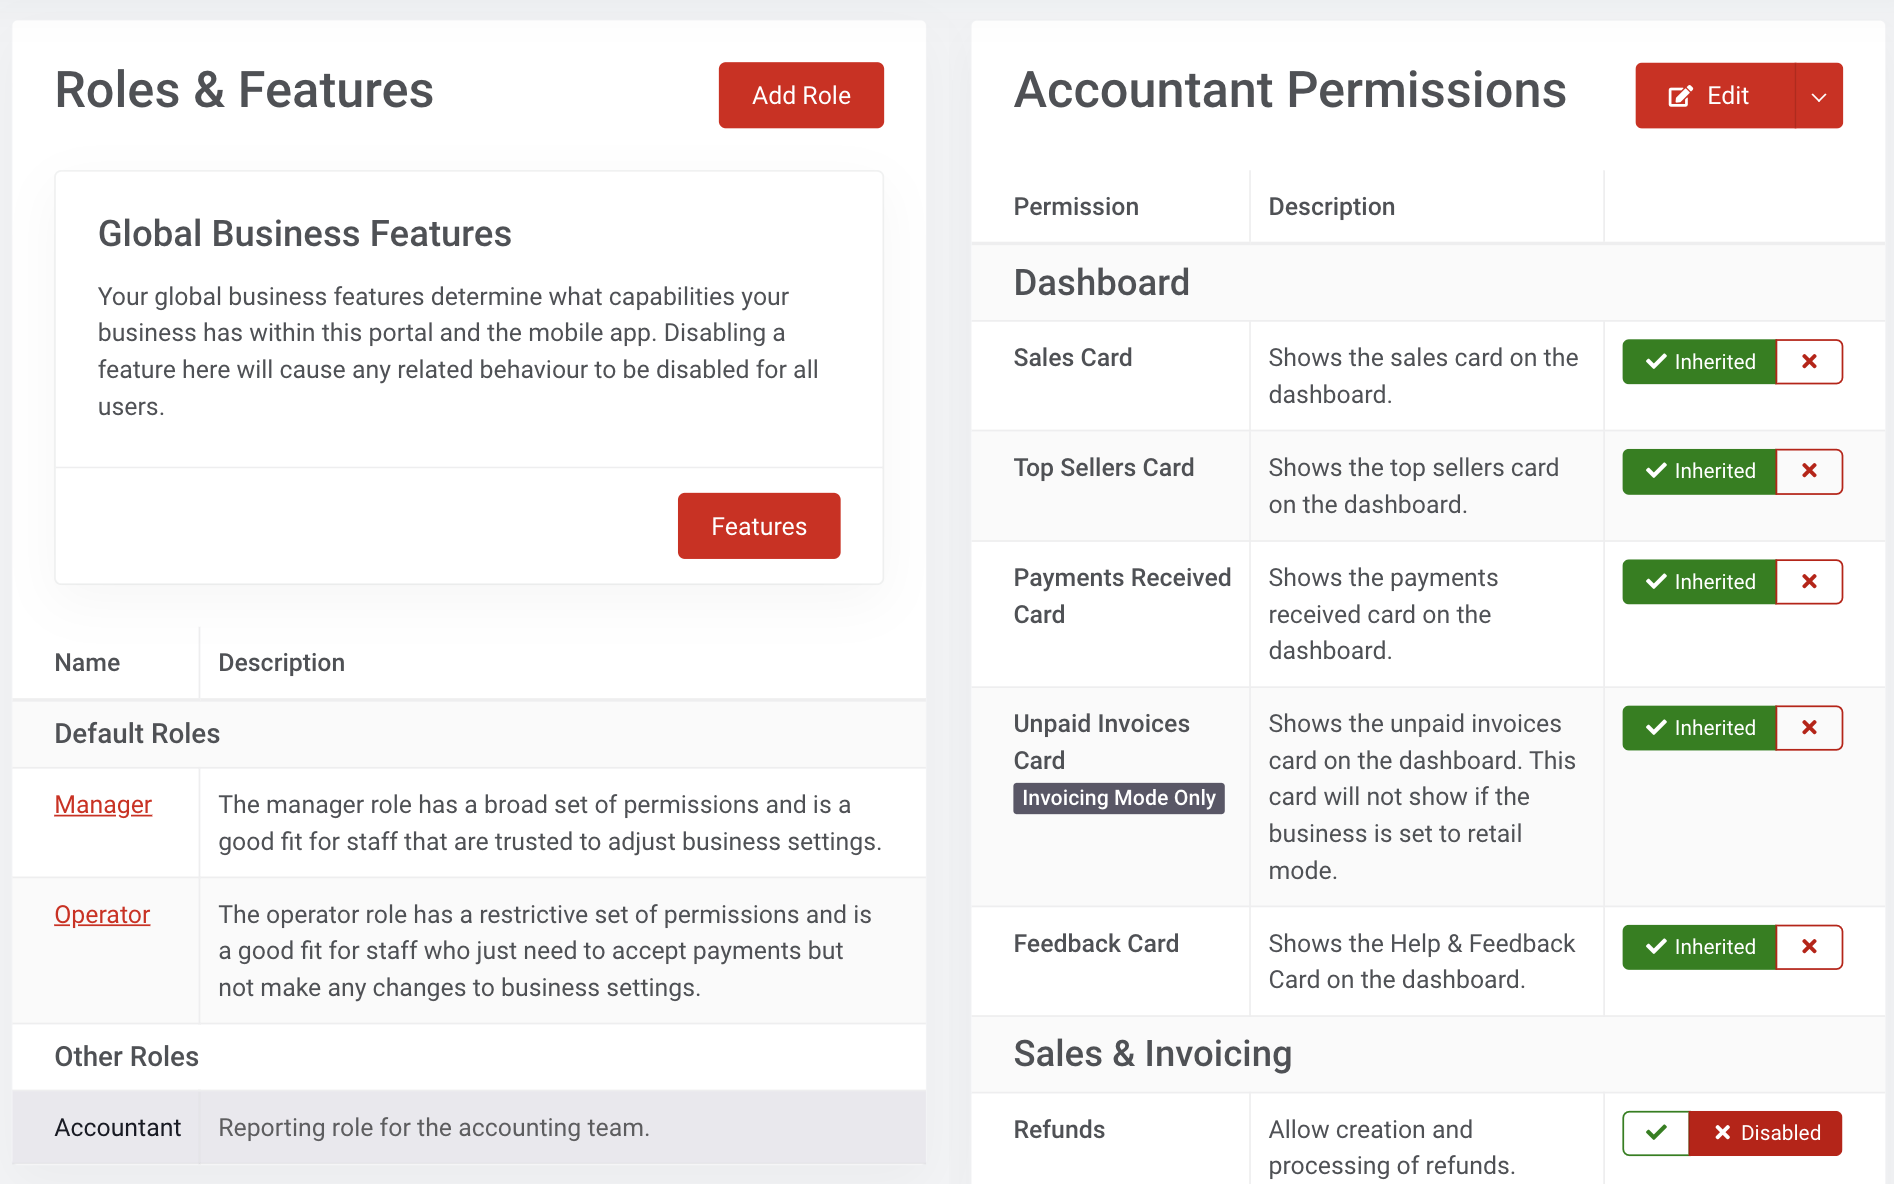
When creating a role, you will be prompted to enter a role name and description. Once completed, the new role will appear under the Other Roles section.
A permissions menu is shown on the right, allowing you to edit the specific permissions of the selected role. If required, you can click on Edit in the top right corner to change the name or description of the role, or click on the dropdown menu to delete the role.
Global Business Features
Global business features refer to the permissions that are available for the business. Account owners have access to all these permissions, and they can also assign these permissions to individual roles.
Manage Roles in the Portal
By default, only the account owner can manage user permissions, but this can be changed by enabling the Manage Users permission for a role.
Account & Data
The portal also has the following unique features that can only be done from the portal.
Account Security
This page contains essential functions for managing the security of your account.
- Change Password - this allows you to set a new password for your account.
- Sign Out Everywhere - use this option to sign out of any devices that are signed into EFTPOS Air using your account.
Data Management
Another powerful feature of the portal is the ability to export your business data either separately by section, or as a single bulk file.
EFTPOS Air stores your data using a Key-Value Database, so all data is exported and imported using the JSON format.
You can export your data as a backup in case you'd like a recovery point, or to move the data into another system.
If you'd like to export your sales, invoice, or payment data in CSV format, you can do so from the relevant page.
Item Import & Export
For easier management of items, you can export and import them using a CSV format, in addition to the JSON format described above.
CSV files can be used to import files from other platforms:
- From Square, you can use the Square CSV export format. Visit Square's support site to learn more about exporting items from Square, and ensure you export items using the CSV format.
- From other platforms, you should manually adjust your data to conform with the EFTPOS Air CSV format. You can download a sample CSV template file here.
When importing item data, you can choose to delete all your existing item data before the new data is imported.
Any items that have the same ID as an existing item will update that record. You can optionally choose to update existing items by matching them on the SKU.