Invoice Tags
Invoice and sales can be assigned and categorised with tags. Tags automatically group sales – for example, for different events, locations, shifts, and more.
Sales can be filtered by tags within the EFTPOS Air Portal and are included in invoice data exports. This is ideal for businesses needing detailed reconciliation, streamlined reporting, and improved visibility into specific revenue streams.
Tags can be managed in the EFTPOS Air App and Portal. A user requires the Manage Tags permission to access the tagging feature.
Updating Tags
To access tagging capability, you will need to navigate to More > Inventory & Customers > Invoice Tags. In this menu, you can view all existing tags and create new ones, if required.
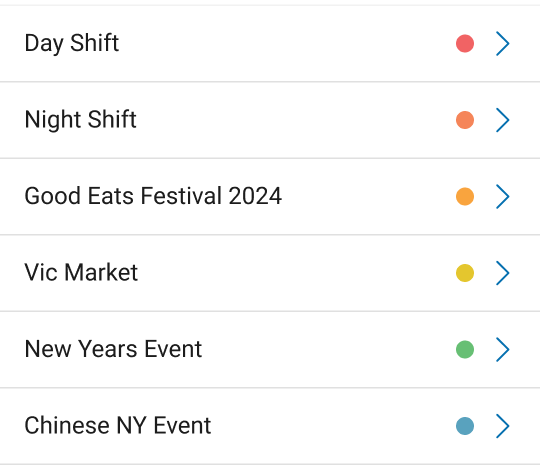
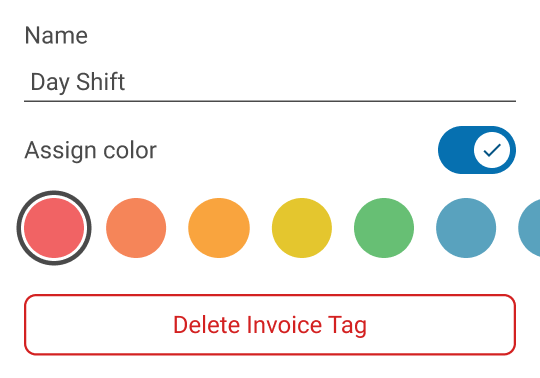
Tapping on a tag allows you to edit the name and colour of the tag or delete it.
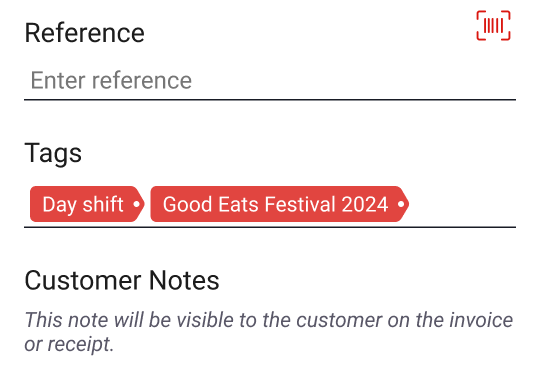
Once a tag has been created, it can be applied by opening an invoice or starting a sale and navigating to the Tags section. From there, type the name of the tag and you will be prompted to tap on existing tags or create a new one by tapping the + button.
Multiple Tags
Invoices can utilise multiple tags. Enter one tag and subsequently type the name of another tag to select another for the invoice.
Auto Tagging
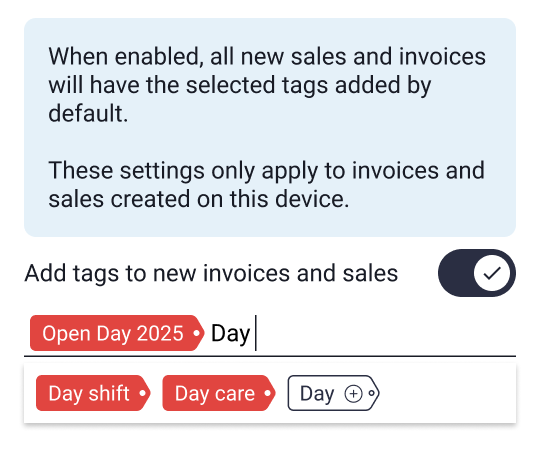
Tags can be automatically added to invoices and sales by utilising the Auto Tagging feature. The feature can be accessed by navigating to More > Device Settings > Auto Tagging.
In this menu, you can enable or disable the feature and enter (or create) tags to be applied to future invoices and sales. Auto Tagging is not currently managed on the EFTPOS Air Portal.
Auto Tagging applies to the Individual Device
Auto Tagging enables tags to be added to all invoices and sales automatically on the individual device and does not impact invoices and sales from other devices under the business.